We’re about to set off on another family hiking adventure. For the last few summers we’ve done a multi-day hike somewhere around New Zealand enjoying the beauty of the bush, mountains and lakes that are right here on our doorstep.
Planning is essential for these adventures and planning to avoid blisters is almost top of my list!
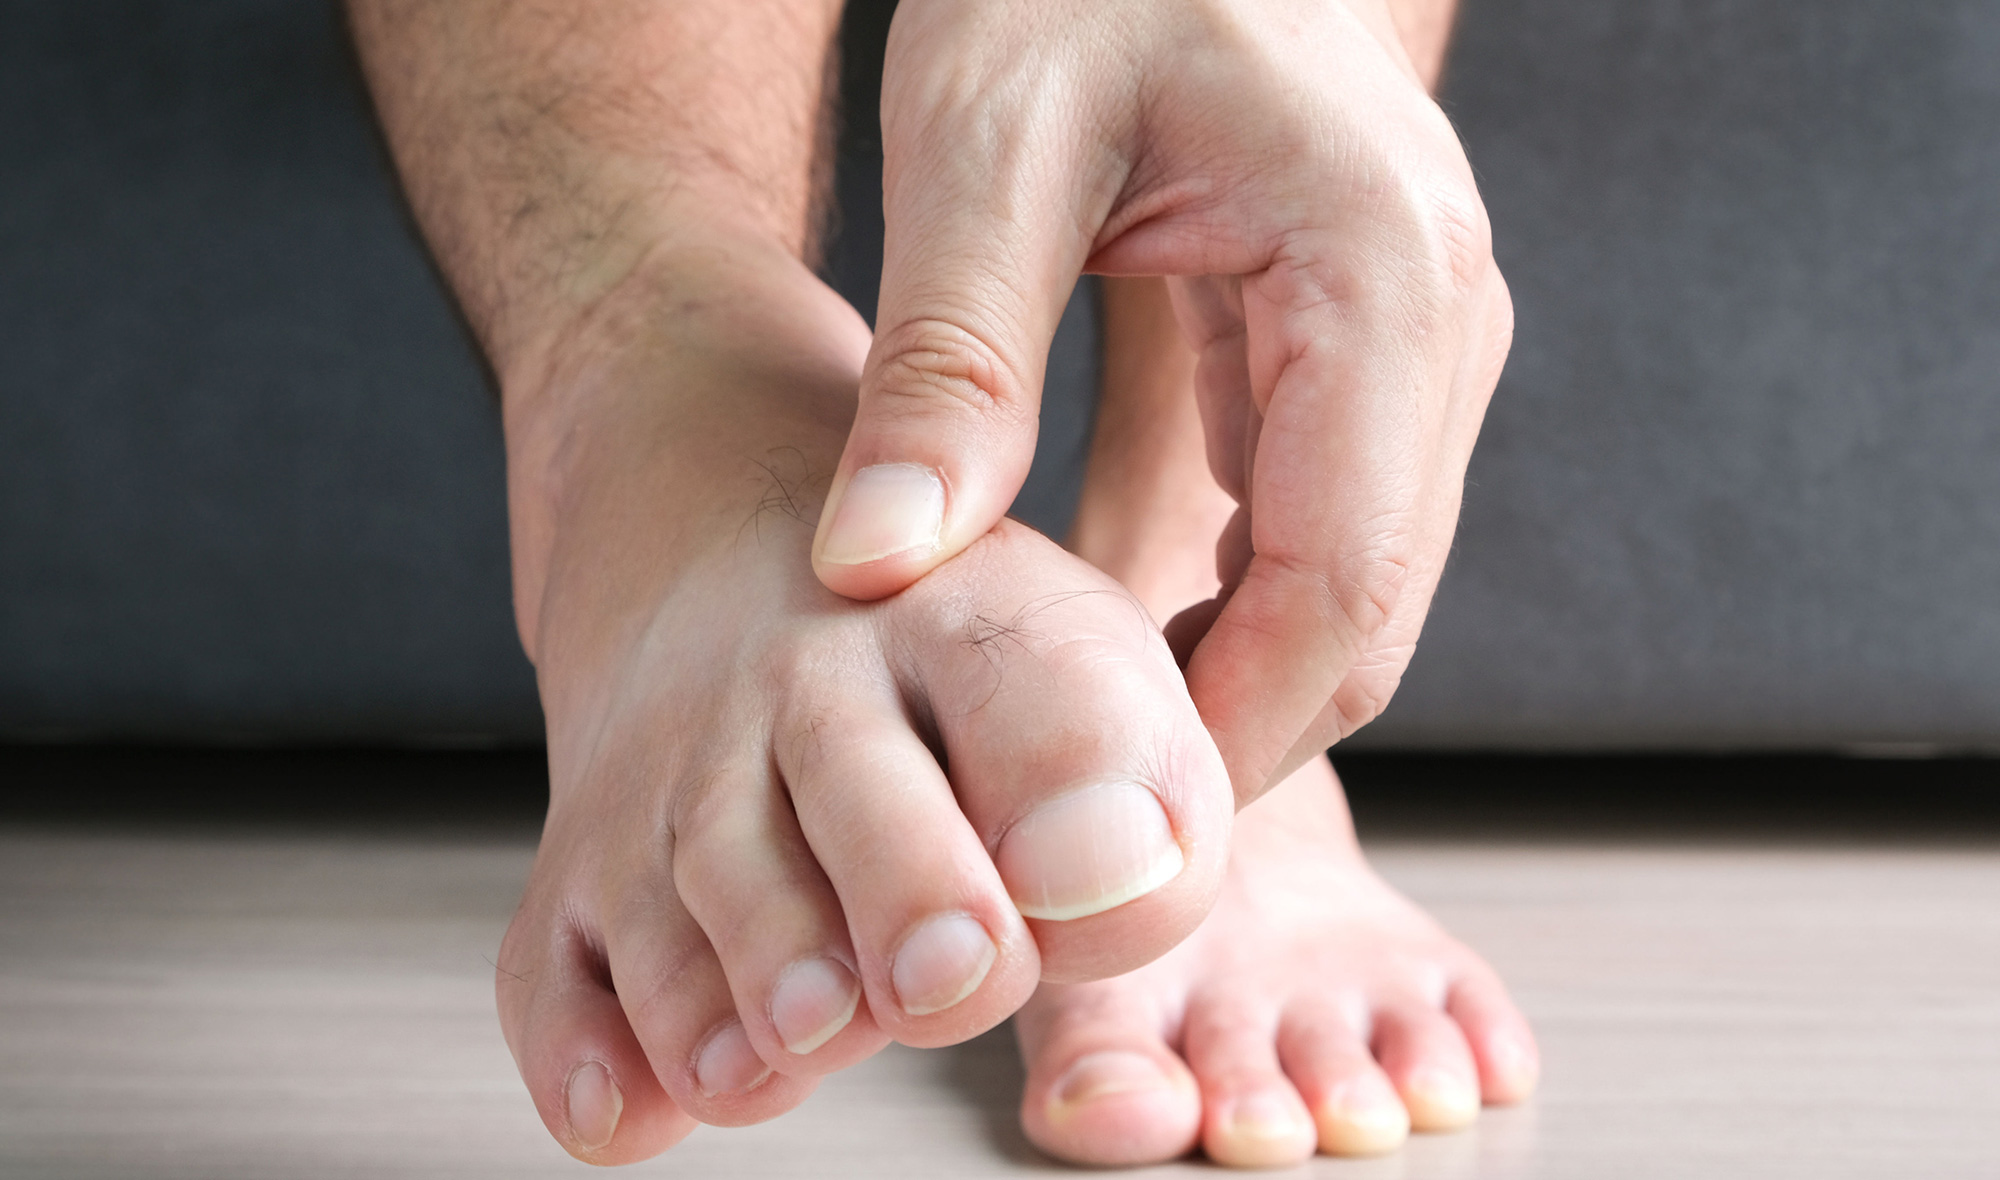
Blisters can easily ruin an adventure – making each step an agonising move and taking your mind off the beauty around you.
Blisters are born as a result of heat, moisture and friction – as you move, your feet get hot, they can swell and sweat and this can cause rubbing against your shoe or boot and/or it can make the layers of skin move against each other, all of which can lead to a blister.
Prevention of blisters is ideal – my top tips to avoid blisters include:
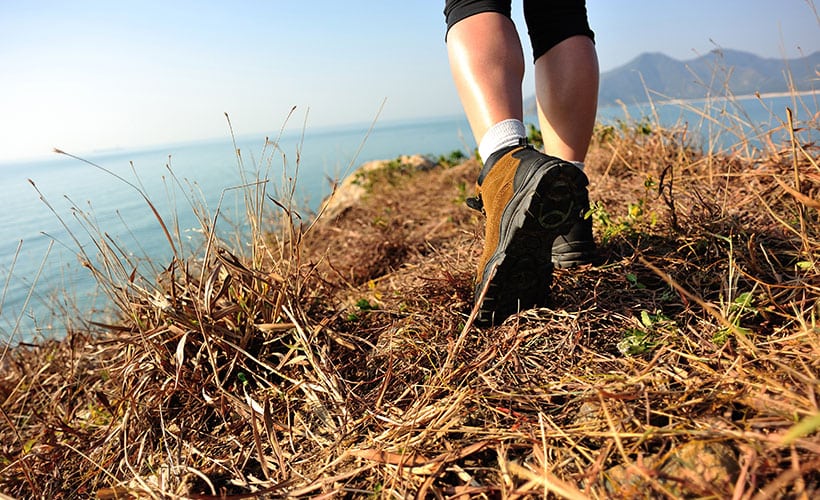
- Buy well-fitting boots that are supportive and comfortable. I recommend going to a shop that specialises in outdoor gear and getting professional advice. I remember a shop I went to had a special ramp that I walked up and down on to check that I wasn’t going to bruise my toes going downhill, nor were my heels slipping as I trudged uphill!
- Make sure your boots are broken-in so that you know they are a good fit.
Even with our well-worn-in boots we make sure we do a few walks in them before we set off on a big hike just to make sure they’re still okay. Changes in body weight are one reason why ‘old’ boots may not be as comfy as they used to be.
- Trim your toenails. Toenails that are too long can cause serious pain and the end results might be losing the nail so trim your nails as short as you can before you set off. Make sure you don’t leave any sharp corners or edges as these too can cause pain.
- Prepare your feet before you set off. Use a foot file and foot cream to remove heel cracks and hard skin on other parts of your feet as if blisters form under these they can be tricky to treat. This preparation work needs to be done in the weeks before your hike. Not the night before!
- Wear socks designed for hiking – such socks have moisture-wicking capabilities meaning they draw moisture away from your skin, helping to keep your feet dry. Most hiking socks will also have padding in the right places for comfort. While we pack light when hiking, I don’t skimp on socks and take a clean pair for each day .
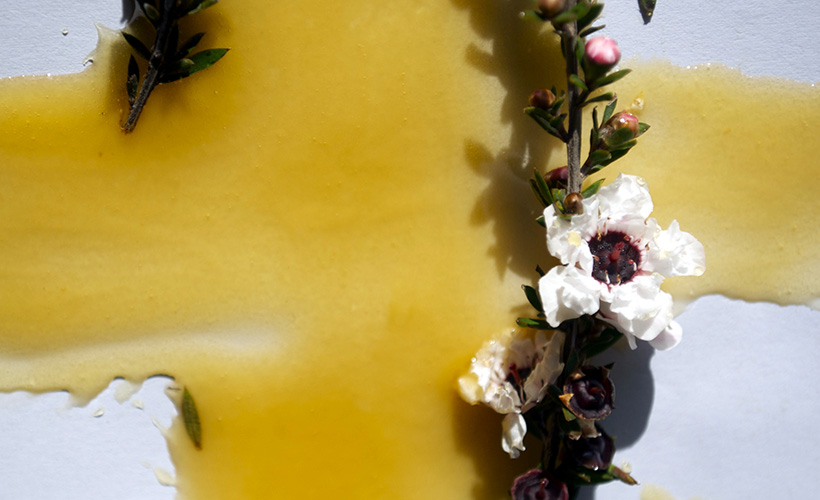
- Use hiking wool to protect your feet – you can buy lanolin-rich New Zealand wool to use inside your boots to help prevent blisters. I use it in my toe area especially – winding it loosely between my toes to prevent friction and the wool also wicks away moisture keeping my feet dry.
- Air your feet i.e. take your socks off and let your feet breathe – at least at night when the walking is done. Sometimes I also give my feet a break when we stop for lunch and take my boots and socks off.
- Stop and remove anything that gets in your boot – sand, dirt or other debris. Stop as soon as you feel it, not ‘later’ or at lunchtime!
So what if having done all you can to prevent blisters, you get an inkling that a blister is brewing?
‘Hot spots’ are typically the first sign – just as their name suggests, somewhere on your foot starts to feel hot and irritated. And that’s the time to stop and do something about it. Stop immediately! If you do heed the warning sign, chances are you’ll avoid a blister developing.
Treatment of hot spots might include applying tape to the area to provide a barrier or you could apply a cushioned blister plaster, moleskin or foam padding.
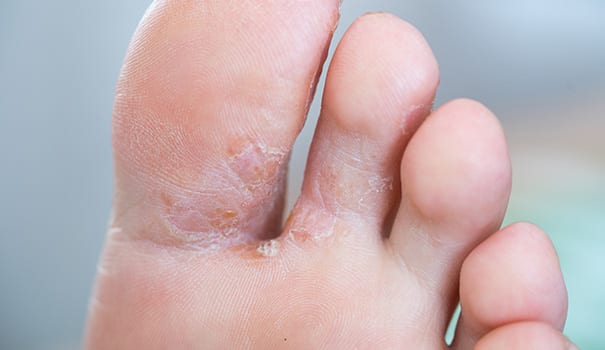
If you miss the early warning signs and discover a full-blown beauty then hopefully you are prepared and have something in your first aid kit to use to provide padding, prevent further damage and relieve the soreness. As before, cushioned blister plasters, moleskin or foam padding are all useful.
To pop or not to pop is always a big question about blisters and everyone has a theory on this. My response differs depending on the situation. If you get a blister from new shoes and you can avoid wearing those shoes again, then I wouldn’t pop, I’d apply a blister plaster and leave that to do the job. However, if I’m hiking and need to put the same boots back on and continue on my adventure then I would pop. The rationale being that if you are going to keep walking in the same boots then the blister is likely to pop anyway as a result of the continued friction in the same place. So popping it and allowing it to drain when you can do it deliberately and cleanly is better than leaving it be and risking it bursting inside your sweaty, dirty sock!
I’d make sure the area is clean and then use a needle that’s been sterilised in a flame or in boiling water to pop the blister at the bottom so gravity can help drain it. One ‘hole’ should be enough to let the fluid out. I’d help it drain using a clean gauze swab or wipe and gently working the fluid towards the hole. Finally, I’d cover the wound with a blister plaster or whatever else you have available.

If the blister continues to be sore, ideally I’d apply more layers of protection rather than risk traumatising the wound by undressing it and possibly removing more skin as you do so.
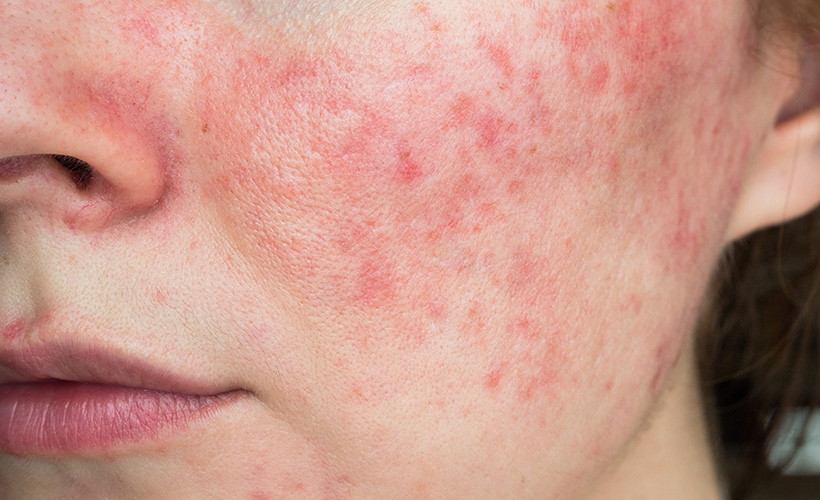
It’s important also to check for signs of infection. These could be white or yellow fluid leaking from the blister or the skin around the blister could become red and warm. Increased pain is another sign of infection.
If you’ve experienced blisters on a previous adventure and you’re setting off again, I suggest taping the previous blister site to prevent the same thing happening again. Some people seem to be prone to blisters so prevention is definitely best. For really persistent problems, I recently discovered blister plasters that you apply to the inside of your footwear not to your skin! This means they last a long time – up to 450km of running or walking – and they won’t irritate your skin. Available in a variety of shapes and sizes, these might be the solution for anyone with long-term blister issues. So far I’ve only been able to buy these plasters from podiatrist.
Summing up – the key to blister-free hiking is prevention. With the right boots and socks, good foot preparation and taking note of warning signs, I hope you too can enjoy your summer adventures.
Written by: Jenny Cade
This blog provides general information and discussion about medicine, health and related subjects. The information contained in the blog and in any linked materials, are not intended nor implied to be a substitute for professional medical advice.


Community